Generate API Docs for Django with GitHub Actions

In the last article I covered how to Host API Docs in Django. To recap, this included the following:
Creating an OpenAPI spec
Generating API docs with the
redoc-cliExposing docs in Django at a path of our choice
Requiring authentication to access API docs
An implementation of the above serves as a functional proof of concept that we can host generated API docs in Django. However, it requires the manual step of generating the docs, which means at best, it works only locally. This is a good start, but it misses the value of having docs that are continually updated. For this, we need some automation.
In this article, we take a step toward operationalizing the above proof of concept. Specifically, we'll cover how to do the following:
Use a production-grade application server
Create a Docker image for our Django app
Include generated API docs in that Docker image
Use GitHub Actions to build and push a Docker image
Let's get started.
Use a production-grade application server
Since our goal is to operationalize our API docs, let's set up Django to interface with a production-grade application server. For this, we'll use the WSGI (application) server uWSGI. This will double as our web server, though most tend to front their application server with another web server or reverse proxy, such as nginx or traefik.
For code, you can pick up where you left off in the last article, or you can download and extract an archive of the project here. In either case, open a terminal in the root directory of the project and install uwsgi:
pip install uwsgi==2.0.20
Let's also add a minimal uWSGI configuration file at the project root named uwsgi.ini:
[uwsgi]
module=django_api_docs.wsgi:application
master=true
pidfile=/tmp/dinosaur.pid
vacuum=true
max-requests=5000
workers=5
enable-threads=true
single-interpreter=true
lazy-apps=true
After doing this, you should be able to start the web server with uWSGI, which we'll configure to be available on port 8000:
uwsgi --ini uwsgi.ini --http :8000
Upon navigating to http://localhost:8000/api/docs/, you may notice that when you're redirected to the login page, it's completely unstyled:
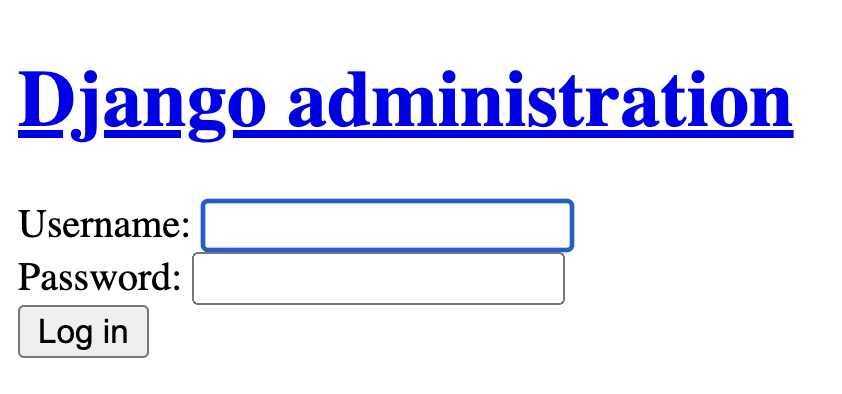
This is because Django only generates static assets on demand when using runserver, which is convenient, but unfit for production as it's both unperformant and insecure. When using a setup more suitable for production, such as with uWSGI as we're now doing, you'll need to host your static assets, which teams often do by leveraging cloud storage such as S3, possibly in combination with a CDN. I'll consider all this outside the scope of this article, so for now we'll accept that our Django pages will be unstyled.
Create a Docker image for our Django app
Here is a basic Dockerfile for Django, which we'll save at the root of the project:
FROM python:3.10.5-alpine
RUN apk update && apk add build-base python3-dev linux-headers
WORKDIR /usr/app
COPY requirements.txt .
RUN pip install -r requirements.txt
COPY . .
Note: if you didn't start with the archive referenced at the beginning of this article, and you haven't created a
requirements.txtfile yet, you can do so as follows:
pip freeze > requirements.txt
So that we don't get a bunch of undesirable files in the resulting image, especially as a result of the last dockerfile directive, we'll add a .dockerignore at the project root:
# *.sqlite3
*.md
.idea
__pycache__
.git
.gitignore
**/docker-compose*
**/generated-docs.html
Note that I've commented out the entry for *.sqlite3 so that we don't have to continually re-create a superuser. Be sure to uncomment this when working with projects bound for production.
Create a docker-compose file
To begin testing our setup, let's create a docker-compose.yaml file, stored at the root of the project, containing a django service:
version: "3.8"
services:
  django:
    build:
      context: .
      dockerfile: Dockerfile
    command:
      - uwsgi
      - --ini
      - uwsgi.ini
      - --http
      - :8000
    ports:
      - "8000:8000"
    volumes:
      - ./db.sqlite3:/usr/app/db.sqlite3
Note that I've included a volume mapping from the local SQLite database file to the one that will be used in the container. This ensures that any changes made locally will be present when running the container, and vice versa.
At this point we can test that our app still runs by running the following command at the root of the project:
❯ docker-compose up
Recreating django-api-docs_django_1 ... done
Attaching to django-api-docs_django_1
django_1  | [uWSGI] getting INI configuration from uwsgi.ini
django_1  | *** Starting uWSGI 2.0.20 (64bit) on [Tue Oct 25 13:18:23 2022] ***
django_1  | compiled with version: 11.2.1 20220219 on 25 October 2022 13:17:50
django_1  | os: Linux-5.10.76-linuxkit #1 SMP PREEMPT Mon Nov 8 11:22:26 UTC 2021
django_1  | nodename: 3561ed9969d2
django_1  | machine: aarch64
django_1  | clock source: unix
django_1  | detected number of CPU cores: 5
django_1  | current working directory: /usr/app
django_1  | writing pidfile to /tmp/dinosaur.pid
django_1  | detected binary path: /usr/local/bin/uwsgi
django_1  | !!! no internal routing support, rebuild with pcre support !!!
django_1  | uWSGI running as root, you can use --uid/--gid/--chroot options
django_1  | *** WARNING: you are running uWSGI as root !!! (use the --uid flag) ***
django_1  | your memory page size is 4096 bytes
django_1  | detected max file descriptor number: 1048576
django_1  | lock engine: pthread robust mutexes
django_1  | thunder lock: disabled (you can enable it with --thunder-lock)
django_1  | uWSGI http bound on 0.0.0.0:80 fd 4
django_1  | uWSGI http bound on :8000 fd 5
django_1  | uwsgi socket 0 bound to TCP address 127.0.0.1:39195 (port auto-assigned) fd 3
django_1  | uWSGI running as root, you can use --uid/--gid/--chroot options
django_1  | *** WARNING: you are running uWSGI as root !!! (use the --uid flag) ***
django_1  | Python version: 3.10.5 (main, Jul 19 2022, 02:30:12) [GCC 11.2.1 20220219]
django_1  | Python main interpreter initialized at 0xffff99bd4560
django_1  | uWSGI running as root, you can use --uid/--gid/--chroot options
django_1  | *** WARNING: you are running uWSGI as root !!! (use the --uid flag) ***
django_1  | python threads support enabled
django_1  | your server socket listen backlog is limited to 100 connections
django_1  | your mercy for graceful operations on workers is 60 seconds
django_1  | mapped 437424 bytes (427 KB) for 5 cores
django_1  | *** Operational MODE: preforking ***
django_1  | uWSGI running as root, you can use --uid/--gid/--chroot options
django_1  | *** WARNING: you are running uWSGI as root !!! (use the --uid flag) ***
django_1  | spawned uWSGI master process (pid: 1)
django_1  | spawned uWSGI worker 1 (pid: 8, cores: 1)
django_1  | spawned uWSGI worker 2 (pid: 9, cores: 1)
django_1  | spawned uWSGI worker 3 (pid: 10, cores: 1)
django_1  | spawned uWSGI worker 4 (pid: 11, cores: 1)
django_1  | spawned uWSGI worker 5 (pid: 12, cores: 1)
django_1  | spawned uWSGI http 1 (pid: 13)
django_1  | WSGI app 0 (mountpoint='') ready in 0 seconds on interpreter 0xffff99bd4560 pid: 8 (default app)
django_1  | WSGI app 0 (mountpoint='') ready in 0 seconds on interpreter 0xffff99bd4560 pid: 12 (default app)
django_1  | WSGI app 0 (mountpoint='') ready in 0 seconds on interpreter 0xffff99bd4560 pid: 9 (default app)
django_1  | WSGI app 0 (mountpoint='') ready in 0 seconds on interpreter 0xffff99bd4560 pid: 10 (default app)
django_1  | WSGI app 0 (mountpoint='') ready in 0 seconds on interpreter 0xffff99bd4560 pid: 11 (default app)
The first time you use this command in this project, the docker image will be built before running the django service.
If you are starting with a new (blank) database, migrate and create a user
If you are starting with a new database, or for whatever reason you aren't able to login, you likely need to initialize the database by migrating and creating a user.
To ensure all Django tables are created and that a user is available for logging in, we'll need to do the following:
Migrate the database
 ❯ docker exec -it django-api-docs_django_1 sh
 /usr/app # python manage.py migrate
 Operations to perform:
   Apply all migrations: admin, auth, contenttypes, sessions
 Running migrations:
   Applying contenttypes.0001_initial... OK
   Applying auth.0001_initial... OK
   Applying admin.0001_initial... OK
   Applying admin.0002_logentry_remove_auto_add... OK
   Applying admin.0003_logentry_add_action_flag_choices... OK
   Applying contenttypes.0002_remove_content_type_name... OK
   Applying auth.0002_alter_permission_name_max_length... OK
   Applying auth.0003_alter_user_email_max_length... OK
   Applying auth.0004_alter_user_username_opts... OK
   Applying auth.0005_alter_user_last_login_null... OK
   Applying auth.0006_require_contenttypes_0002... OK
   Applying auth.0007_alter_validators_add_error_messages... OK
   Applying auth.0008_alter_user_username_max_length... OK
   Applying auth.0009_alter_user_last_name_max_length... OK
   Applying auth.0010_alter_group_name_max_length... OK
   Applying auth.0011_update_proxy_permissions... OK
   Applying auth.0012_alter_user_first_name_max_length... OK
   Applying sessions.0001_initial... OK
In the same docker exec session (or start a new one if you exited the previous one):
 /usr/app # python manage.py createsuperuser
 Username (leave blank to use 'root'): admin
 Email address: admin@dinosaur.com
 Password: <enter password>
 Password (again): <re-enter password>
 Superuser created successfully.
 /usr/app # <CTRL-d to exit>
Test the running Docker container
Now you should be able to navigate to http://localhost:8000/api/docs/ and be redirected to the login screen. And, upon entering the same credentials you provided while running the createsuperuser management command, you should see a 404 page:
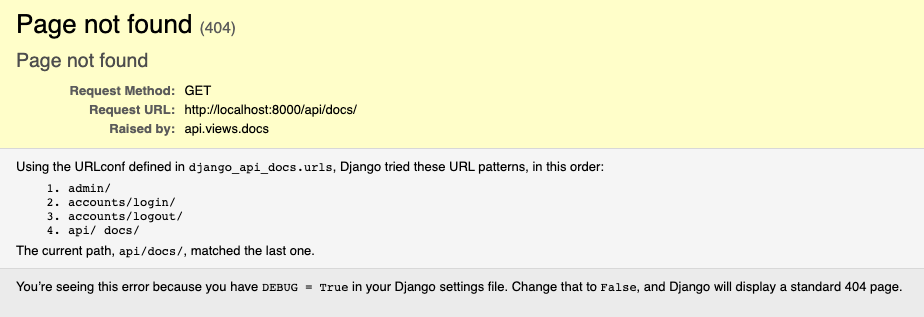
This is because our generated API docs do not exist in the docker image. We included a reference in the .dockerignore file that ensures that a previously generated file isn't copied from the repo into the image when built.
Include generated API docs in that Docker image
By excluding the static HTML file from the Docker image while using the COPY directives (see .dockerignore file above), we remove the need for the repository itself to house a newly generated version with each commit. If we took that approach, engineers would be required to run redoc-cli bundle and commit the resulting file. Since the outcome of this is an unwieldy blob of HTML, CSS and JS, whose contents are the artifact of a third party tool, there's no need to clutter our repo with this.
Instead, we'll generate these docs while building our Docker image and place them in the appropriate location.
Generate API docs in a Docker build stage
To generate API docs during the image build process, we'll leverage Docker's multi-stage builds:
FROM node:17.5.0-alpine as api-docs-builder
RUN npm i -g redoc-cli
COPY api/docs/openapi.yaml /usr/app/api/docs/openapi.yaml
RUN redoc-cli bundle /usr/app/api/docs/openapi.yaml -o /usr/app/api/docs/generated-docs.html

FROM python:3.10.5-alpine
RUN apk update && apk add build-base python3-dev linux-headers
WORKDIR /usr/app
COPY --from=api-docs-builder /usr/app/api/docs/generated-docs.html api/docs/generated-docs.html
COPY requirements.txt .
RUN pip install -r requirements.txt
COPY . .
The notable advantage of using a build stage for generating docs is that the final image doesn't contain node or redoc-cli. This would unnecessarily increase the size of our image and would unnecessarily add to our supply chain security risk profile. Instead we use it only to generate our HTML file, then copy only the HTML file into our final image.
Test API docs in Docker container
When testing this setup, you'll need to explicitly tell docker-compose to rebuild the image:
docker-compose up --build
After the image has been rebuilt and a container started, a visit to http://localhost:8000/api/docs/ (after authenticating) should show the API docs, which were generated and copied into the image at build time, and thereby available via the container at runtime.
Use GitHub Actions to build and push a Docker image
In this final section, I'll cover how to ensure that updated API docs are included in the Docker image resulting from each change to our git repo. We'll use GitHub Actions to accomplish this. In case you haven't seen or used GitHub Actions before, you can get started with Learn GitHub Actions.
Prerequisites
Though knowledge of GitHub Actions is not a prerequisite, here's what I'll assume you have set up:
✅ A local git repository for your project
✅ A GitHub repository for your project (create one here)
✅ A configured remote origin in your local repo pointing to your GitHub repo
✅ Docker Hub account with a read/write access token (create one here)
For example:
cd your/project/dir
git init
git remote add origin git@github.com:<username>/<repo-name>.git
Add a GitHub Actions workflow
The basic building block of a GitHub Action is a workflow. In its simplest form, it's a single file that defines one or more jobs that should be run when a specified event (like a push) occurs. Let's create a workflow file that will be triggered on every push to the main branch.
Note: If your default branch is not
main, you can substitutemainwith whatever your current branch is. Find your current branch by runninggit branch --show-currentin the root of your local git repo.
Since my default branch is main, I'll create my workflow file at .github/workflows/main.yaml. The only requirement here is that your YAML file is located in a directory named .github/workflows.
on:
  push:
    branches:
      - main

jobs:
  build-image:
    runs-on: ubuntu-22.04
    steps:
      - uses: actions/checkout@v3
      - name: Log in to Docker Hub
        uses: docker/login-action@v2
        with:
          username: christherama
          password: ${{ secrets.DOCKERHUB_PASSWORD }}
      - name: Set up QEMU
        uses: docker/setup-qemu-action@v2
        with:
          platforms: arm64
      - name: Set up Docker Buildx
        uses: docker/setup-buildx-action@v2
      - name: Build and push image
        uses: docker/build-push-action@v3
        with:
          context: .
          platforms: linux/amd64,linux/arm64
          file: Dockerfile
          push: true
          tags: christherama/django-api-docs:main-latest
A few notes about the above YAML:
The
docker/setup-qemu-actionis used to add support for building Docker images for multiple architectures (such aslinux/arm64to run locally on an Apple M1)Though the image tag
main-latestis used above for convenience, as a static tag that's repeatedly overwritten, it's a poor choice for production. Imagine trying to rollback to the previous image after a failed deployment. For production, make sure this is unique, potentially by including the full or short SHA of the git commit in the tag.Passing the the Docker Hub password as a GitHub secret to the
docker/login-actionaction requires that we add a GitHub secret. Let's do that next.
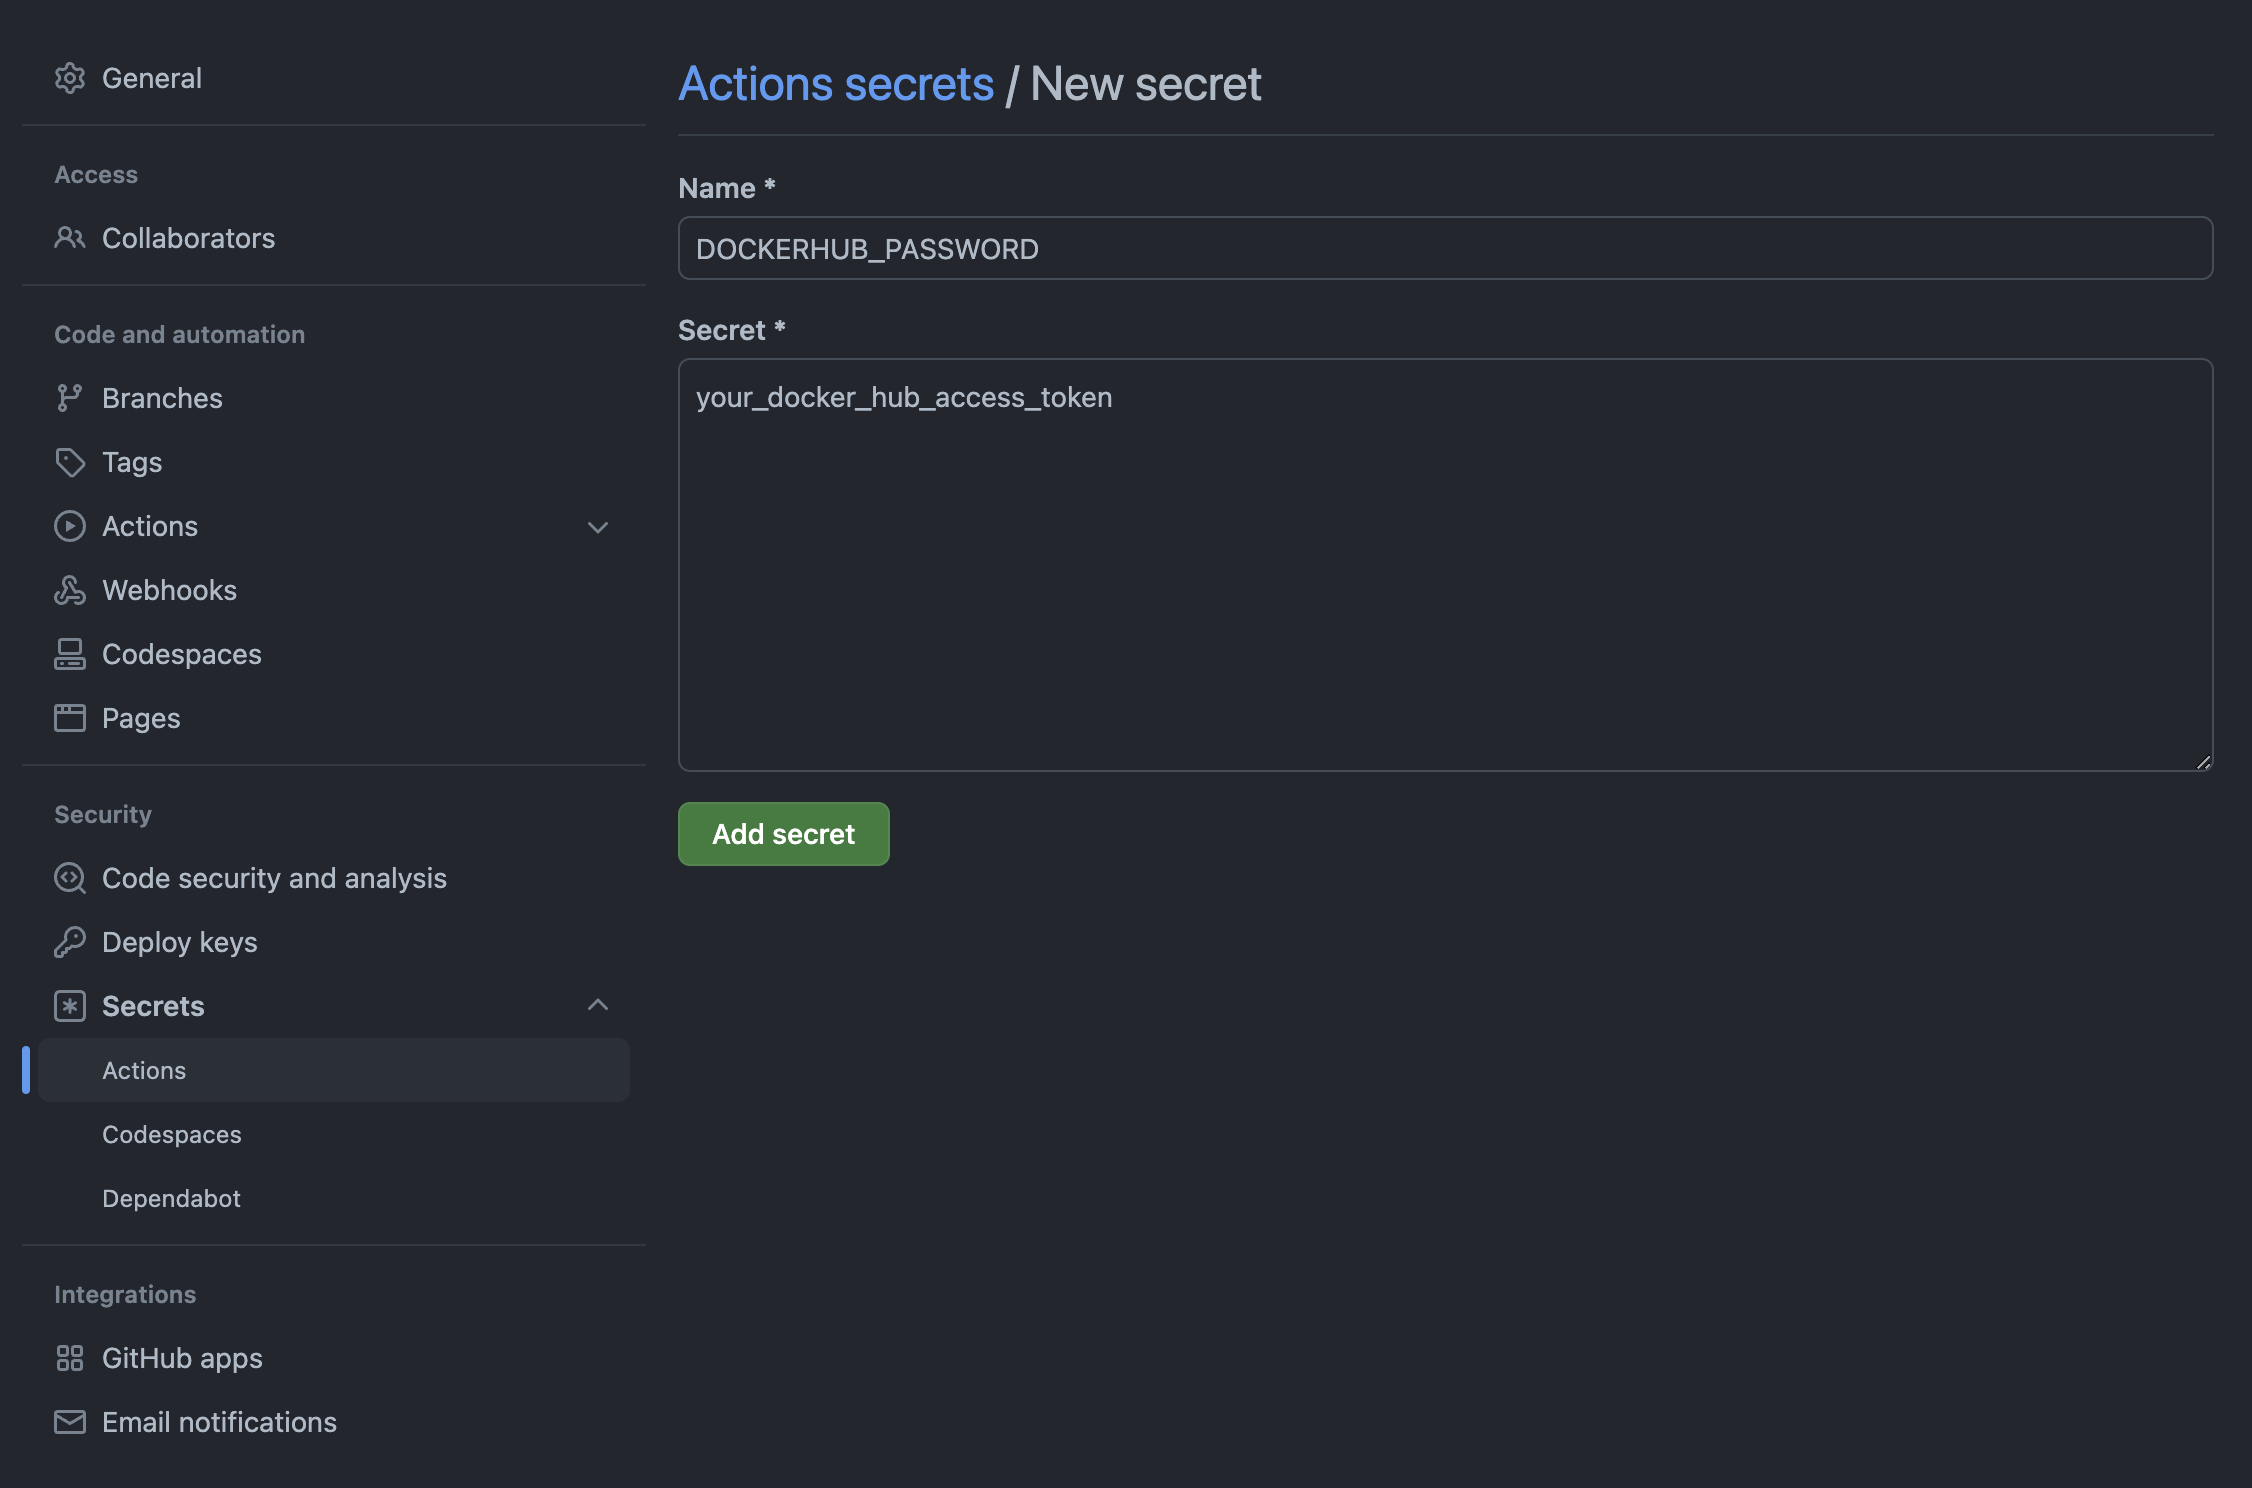
Add a GitHub secret
So that our build job has a Docker Hub password to push our built image to a Docker Hub, let's add it to GitHub now. To do this, navigate to your repository, then to the Settings tab, followed by Actions » Secrets in the sidebar. From there, click the New repository secret button, enter DOCKERHUB_PASSWORD for the name, and for the secret value, paste the read/write token you created as a prerequisite. Choose Add secret to finish.
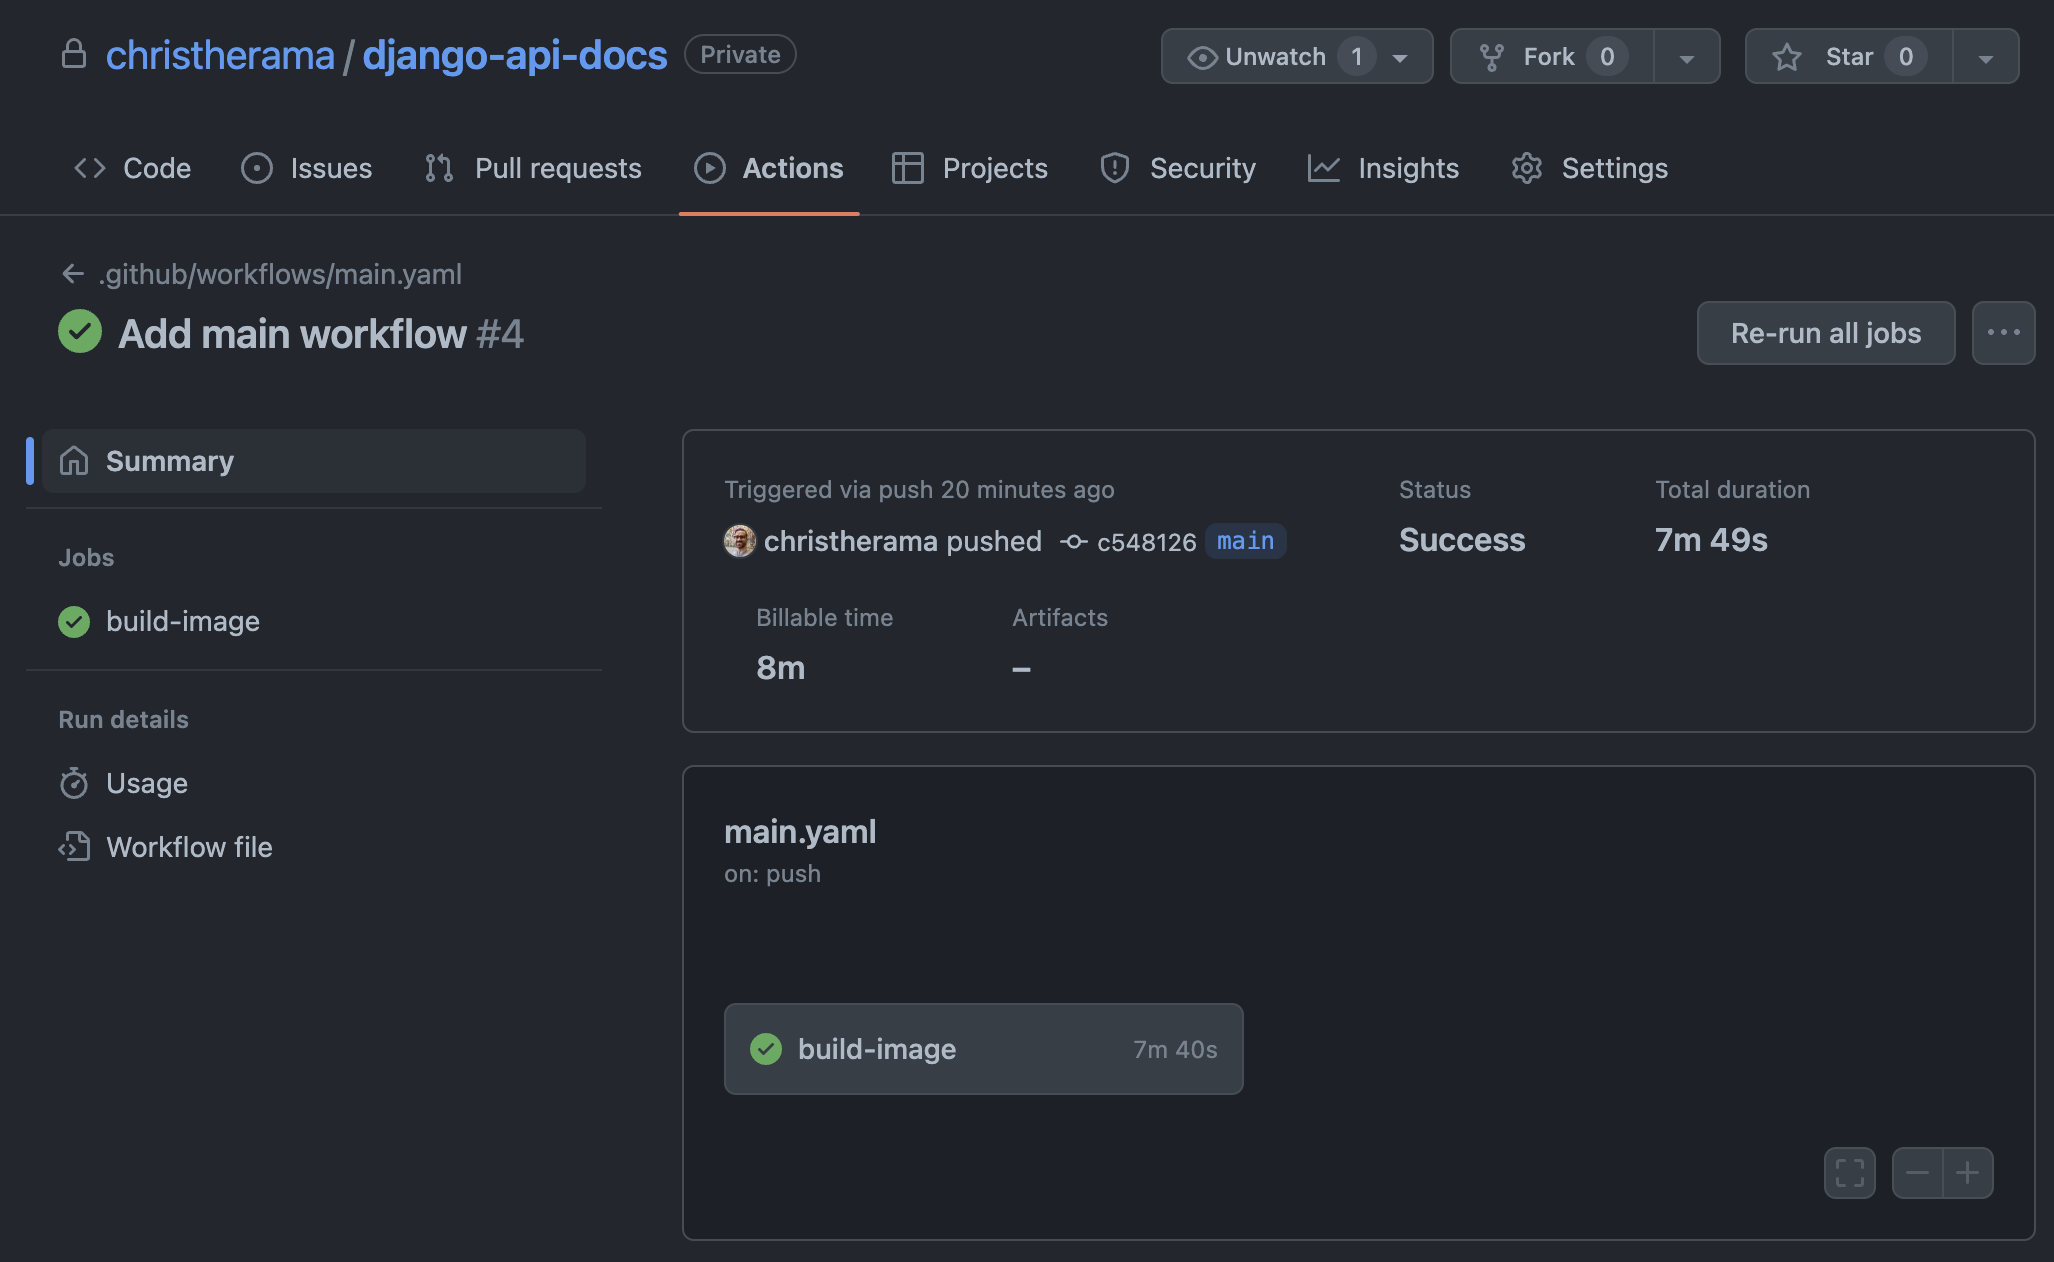
Testing the GitHub Action
We're now ready to test the action. For this, we'll first push our changes:
git add .
git commit -m "Add main workflow"
git push origin main
Looking at the action, if all is configured correctly, you'll see a successful run of the action after a few minutes. You can find all action runs by navigating to your repository, then clicking the Actions tab and the individual run. Here's what a successful run looks like:
Testing the Docker Image
For the final test of the image, we can use the repository and tag of the built image in place of building the image in our docker compose file:
version: "3.8"
services:
  django:
    image: christherama/django-api-docs:main-latest
#    build:
#      context: .
#      dockerfile: Dockerfile
    command:
      - uwsgi
      - --ini
      - uwsgi.ini
      - --http
      - :8000
    ports:
      - "8000:8000"
    volumes:
      - ./db.sqlite3:/usr/app/db.sqlite3
Now with another docker-compose up, we should be able to navigate to http://localhost:8000/api/docs/ and see our generated docs!
Wrapping Up
In this second in a series of two articles, we looked at how to keep our latest Docker image built from a specific branch in our repo up to date with API docs representing the latest spec in our repo. We used GitHub Actions to facilitate the building of a new image with each push to our main branch.
Regardless of the CI tool used for triggering an image build, the key component was using a multi-stage Docker build to first generate the docs as a single HTML file with the redoc-cli, then copying that file into the final image.
Now that we've got functioning API docs according to our spec, I'd like to take the time in future articles to cover how that spec can be further operationalized, for example by ensuring the API adheres to the contract, and by using the spec to generate a mock server that can be handed over to API clients such as mobile app and web frontend teams.